
Navigate
Products
Download
eShop
Upgrade
Overview
Training
Support

Navigate
Products
Download
eShop
Upgrade
About
Training
Support
This tutorial demonstrates how to transform a simple clipart-style image into a striped embroidery design using Embird's Stripes feature. Users learn how to open an image, apply customizable stripe effects via the "Image > Colors > Stripes" menu, and convert the modified image into stitches. The process highlights basic editing and automatic conversion tools in Embird's Editor, enabling users to create stylized embroidery patterns from basic graphics.
1 - Run Embird and click the "Editor" menu to switch to the Editor window.
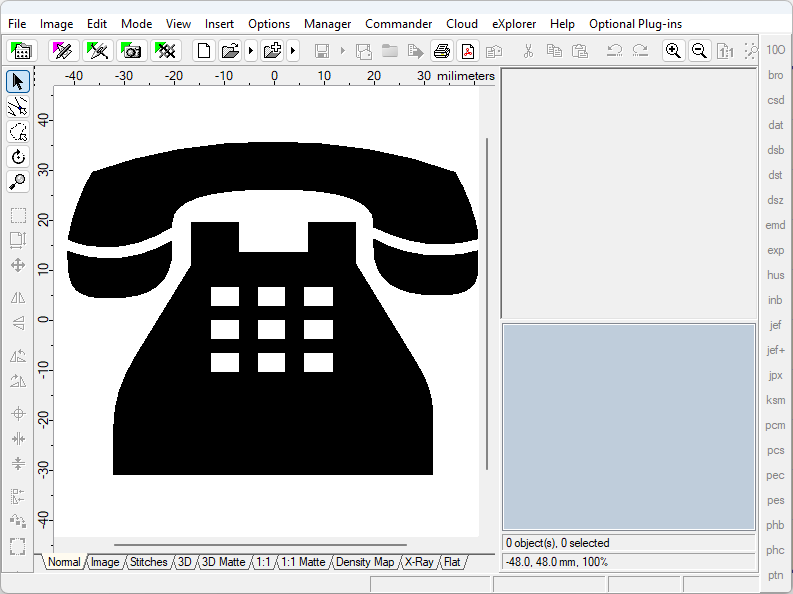
2 - Open a simple clipart-style image using the "Image > Open" menu. In this example, the "phone" image was created using the Font Engine plug-in, as shown in the Create Clipart-Style Design tutorial. Another way is to insert a random image using the menu "Image > Surprise Me! > Clipart".
1. Open clipart-style image
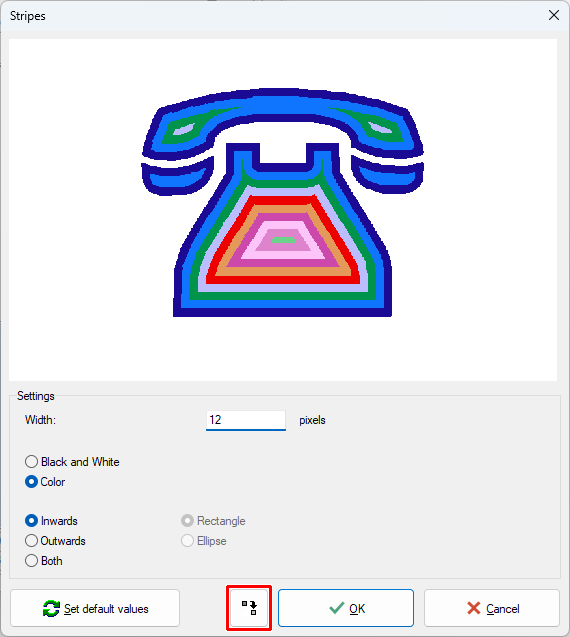
3 - Select the menu "Image > Colors > Stripes".
4 - Modify settings to obtain various stripes (Picture No. 2).
5 - Click the "Convert to Stitches" button.
2. Modify settings to obtain various stripes
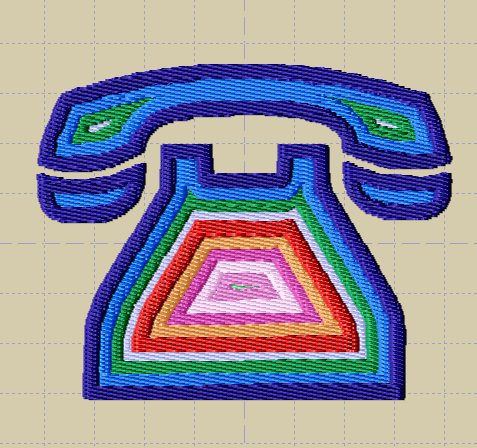
6 - After a short while, a new design will be inserted into the Editor.
3. Image converted to embroidery design
Back to Embird Tutorial Contents
Developed by BALARAD, s.r.o. company since 1997