
Navigate
Products
Download
eShop
Upgrade
Overview
Training
Support

Navigate
Products
Download
eShop
Upgrade
About
Training
Support
This tutorial outlines the process of creating a clipart-style embroidery design using Embird Editor. The workflow begins by launching Embird and switching to the Editor window. Users then insert clipart from symbol-based fonts such as "Wingdings" or "Webdings" through the Font Engine Plug-in. Once a desired symbol is selected, it is added as a black-and-white bitmap into the design workspace. The image colors are modified to achieve visually appropriate shades. Following this, the image is converted into stitches. The final product is a stylized clipart embroidery design ready for further editing or export.
1 - Run Embird and click the "Editor" menu to switch to the Editor window.
2 - Select the menu "Insert > Font Engine Text" (Picture No. 2).
1. Select menu "Insert > Font Engine Text"
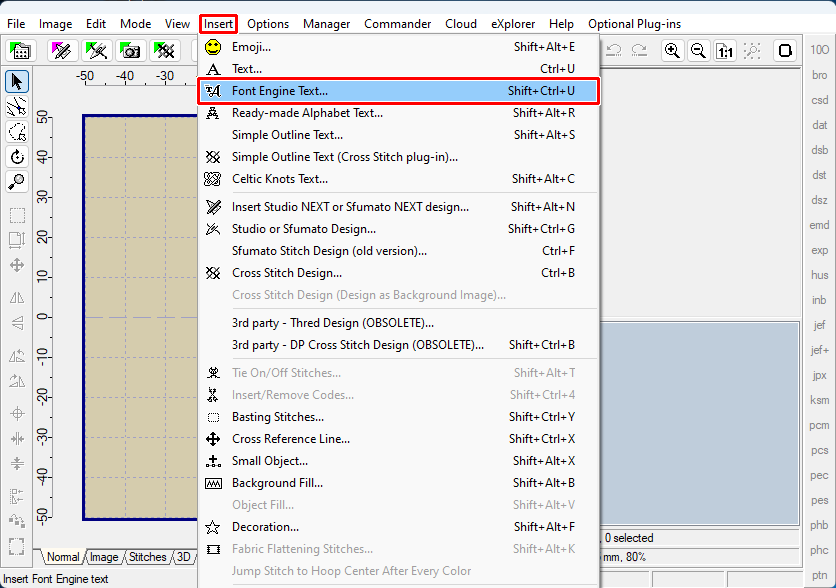
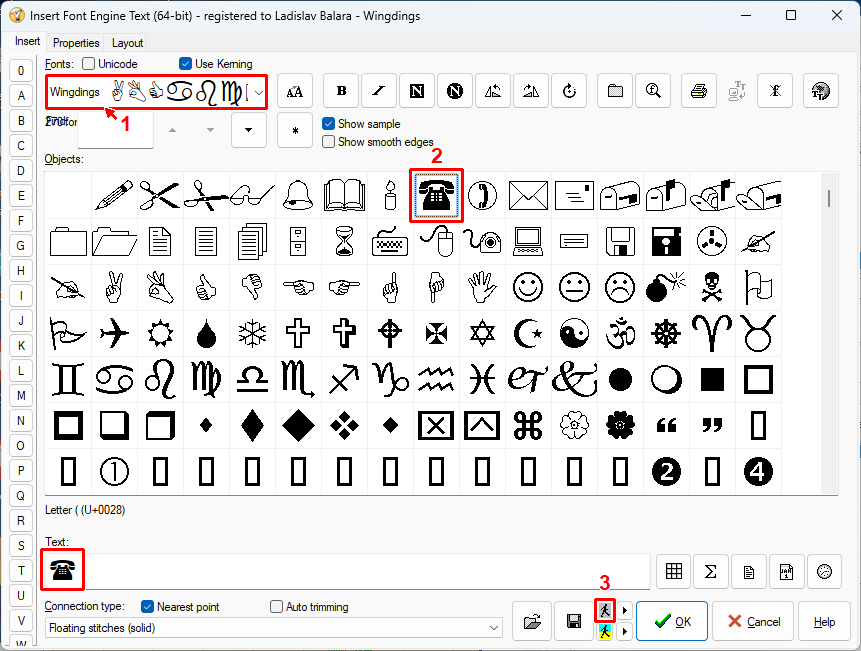
3 - Select a font containing symbols - "Wingdings" or "Webdings" (1 in Picture No. 2).
4 - Double-click the icon of the symbol to add it to the "Text" line (2 in Picture No. 2).
5 - Click the "Insert as BW Bitmap" button (3 in Picture No. 2).
2. Insert clipart as BW image
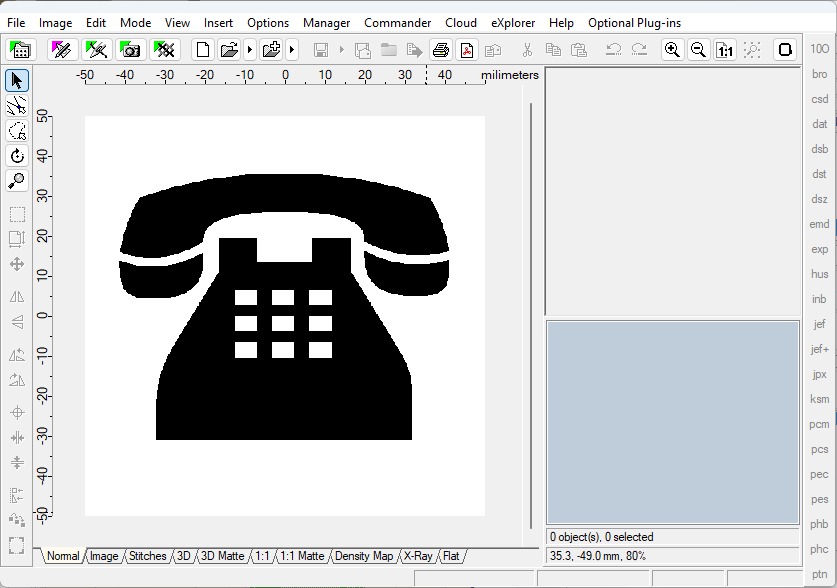
6 - The background image is inserted into the Editor (Picture No. 3).
3. Background image is inserted into Editor
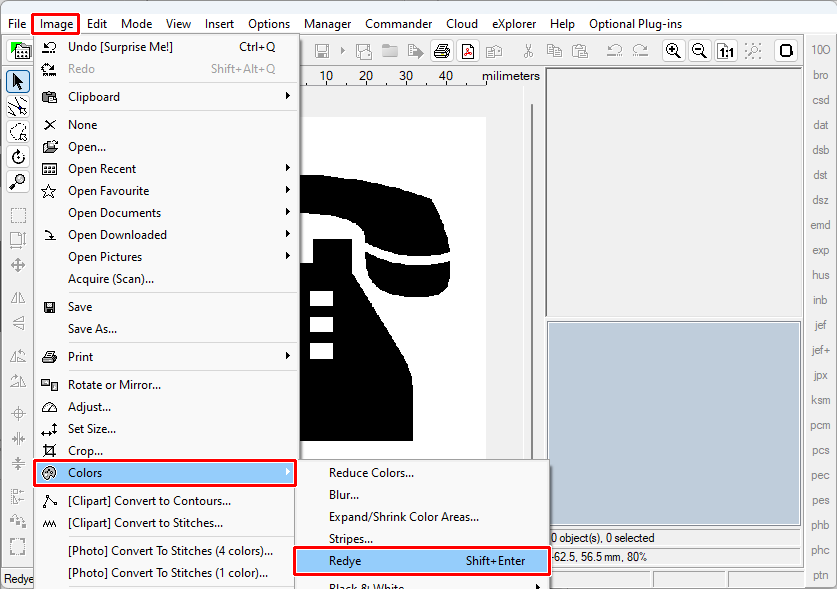
7 - Change the colors of the background image by selecting the "Image > Colors > Redye" menu (Picture No. 4).
4. Change the image colors
8 - Repeat the last command several times using its shortcut "Shift+Enter" until you obtain random suitable colors (Picture No. 5).
5. Image with new colors

9 - Select the menu "Image > [Clipart] Convert to Stitches" (Picture No. 6). In the dialog boxes that appear on the screen, specify "Transparent" background, "Jumps" as the connection between color areas, and "Fill > Plain Fill > Fill 1" as the pattern type.
6. Select menu "Image > [Clipart] Convert to Stitches"
![Select menu "Image > [Clipart] Convert to Stitches"](clipart6.png)
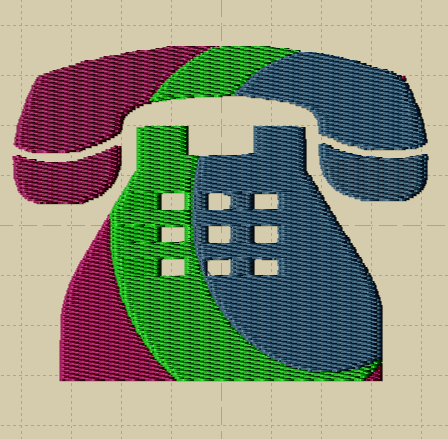
10 - After a short while, a new design will be inserted into the Editor (Picture No. 7).
7. Image converted to embroidery design
Back to Embird Tutorial Contents
Developed by BALARAD, s.r.o. company since 1997