
Navigate
Products
Download
eShop
Upgrade
Overview
Training
Support

Navigate
Products
Download
eShop
Upgrade
About
Training
Support
This tutorial demonstrates how to convert a clipart-style image into a Spectrum Pattern embroidery design using Embird software. After launching the Editor window, users open a simple image via the "Image > Open" menu or select one from the built-in clipart options. By navigating to "Image > Colors > Spectrum," users can apply and customize a colorful spectrum effect. Once the desired spectrum pattern is achieved, the image is transformed into an embroidery design by clicking the "Convert to Stitches" button. The finalized design is automatically inserted into the Editor for further use or export.
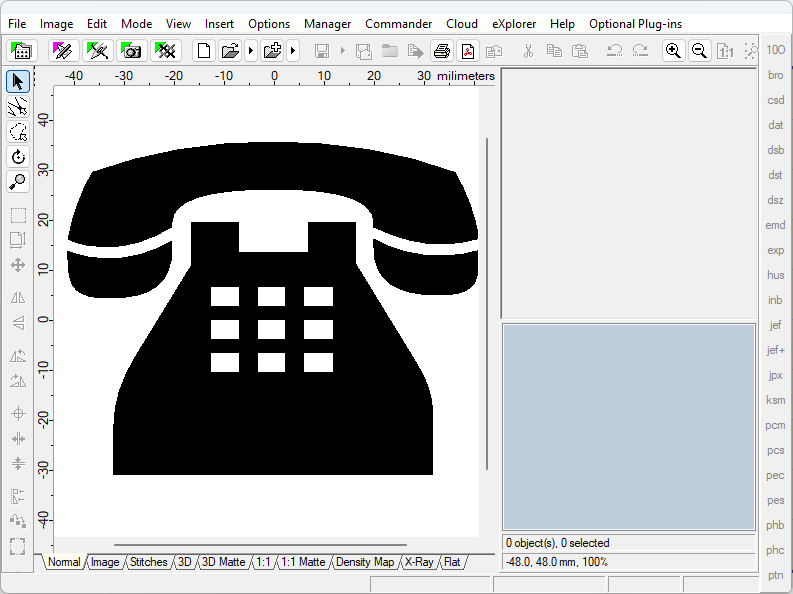
1 - Run Embird and click the "Editor" menu to switch to the Editor window.
2 - Open a simple clipart-style image using the "Image > Open" menu. In this example, the "phone" image was created using the Font Engine plug-in, as shown in the Create Clipart-Style Design tutorial. Another way is to insert a random image using the menu "Image > Surprise Me! > Clipart".
1. Open clipart-style image
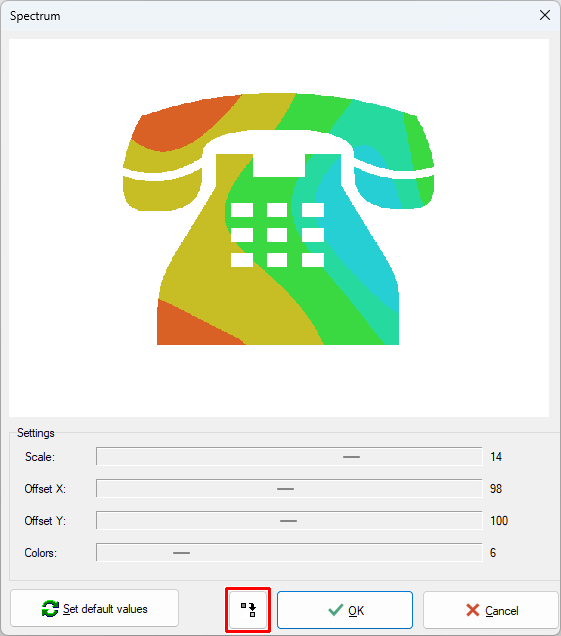
3 - Select the menu "Image > Colors > Spectrum".
4 - Modify settings to obtain various spectrums (Picture No. 2).
5 - Click the "Convert to Stitches" button.
2. Modify settings to obtain various spectrums
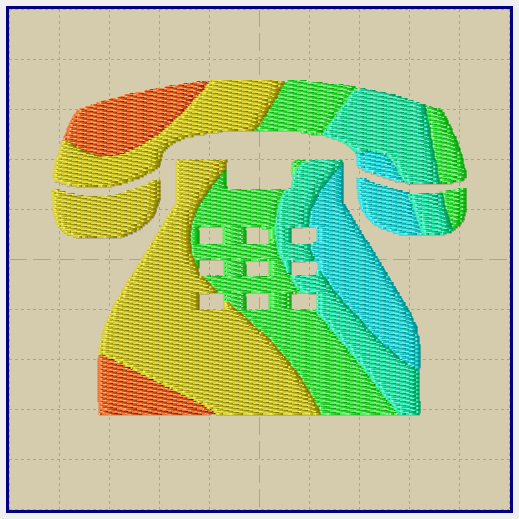
6 - After a short while, a new design will be inserted into the Editor.
3. Image converted to embroidery design
Back to Embird Tutorial Contents
Developed by BALARAD, s.r.o. company since 1997