Navigate
Products
Download
eShop
Upgrade
Overview
Training
Support
Navigate
Products
Download
eShop
Upgrade
About
Training
Support
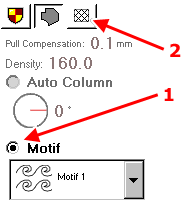
Studio allows to use several motifs within a single fill. See below examples of object filled with use of several motifs at the same time. To use this feature, create common fill object first, then access its parameters and select Motif option (1). Then click on the tab (2).
Multiple motifs can be combined with all options available for single motif like scale, shift, fill angle, wave and gradient. However, respective motifs must be all of the same size. User does not have to care about it, because respective motifs are automatically resized to size of the 'master' motif, which is the motif marked with (1). Master motif is displayed also in below grid in a top left cell.
The tab with grid of multiple motifs is visible only when Motif option (1) is checked.
Use Rows and Columns controls to set number of motifs. It is possible to define up to 3x3 motifs.
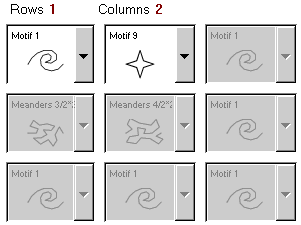
Setting of desired number of rows and columns defines a grid of motifs that will be used to fill the object. Select predefined or user-defined motifs to respective cells of the grid. Then click Apply, Generate Stitches or OK button to store new settings for object.
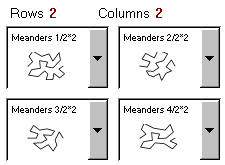
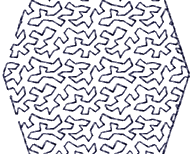
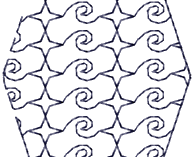
With a grid of properly digitized user motifs (left side) it is possible to achieve homogenous random-like fill.
