
Navigate
Products
Download
eShop
Upgrade
Overview
Training
Support

Navigate
Products
Download
eShop
Upgrade
About
Training
Support
This tutorial explains how to save the parts of a split design. It also shows how to create the template, which you will use for aligning the parts when sewing out on the embroidery machine. To find out how to split a design, please read the following tutorials: Interactive Free-Hand Splitting, Auto-Split, Auto-Split Along Hoop Boundaries, Split Before/After Color, Separate Color and Using Initial and Ending Stitch Boxes.
Once the splitting is completed, please follow these steps to save the design parts:
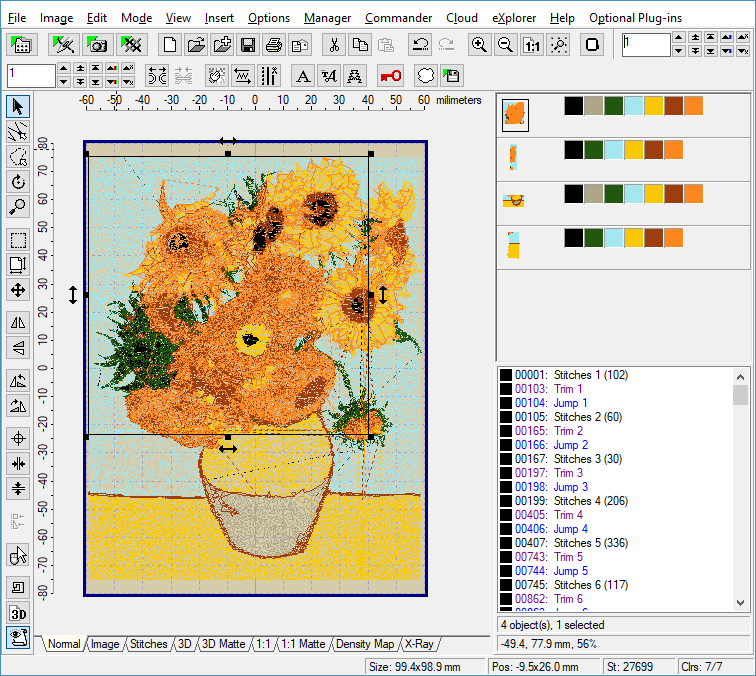
1 - In this example, we applied the "Edit > Split/Join > Auto-Split" command to the SUNFLOWER design. The design was automatically split into four parts, and every part now fits into a standard 100 x 100 mm hoop (Picture No. 1).
1. Design was split automatically into four parts
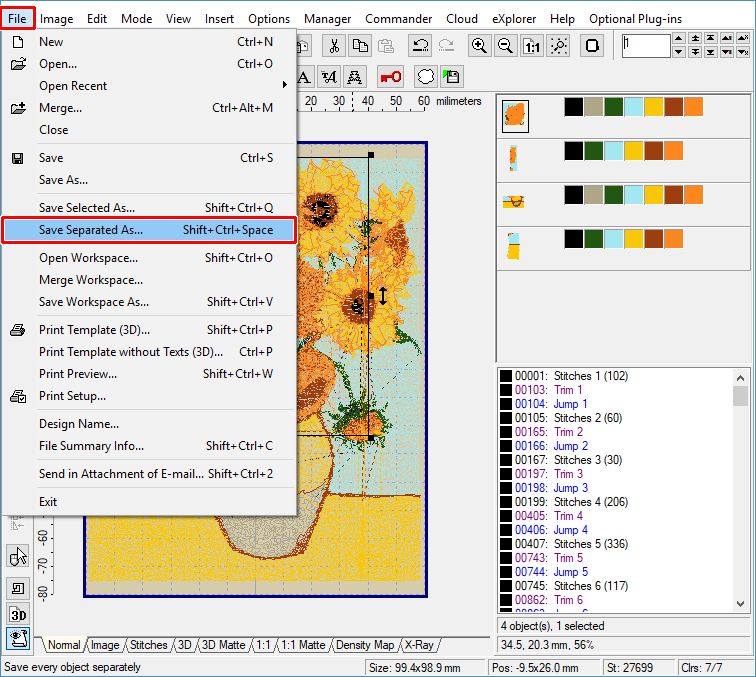
2 - Select the "File > Save Separated As" menu to save all four parts separately; i.e., to save each part into its own file on the hard disk (Picture No. 2).
2. Select "File > Save Separated As" menu
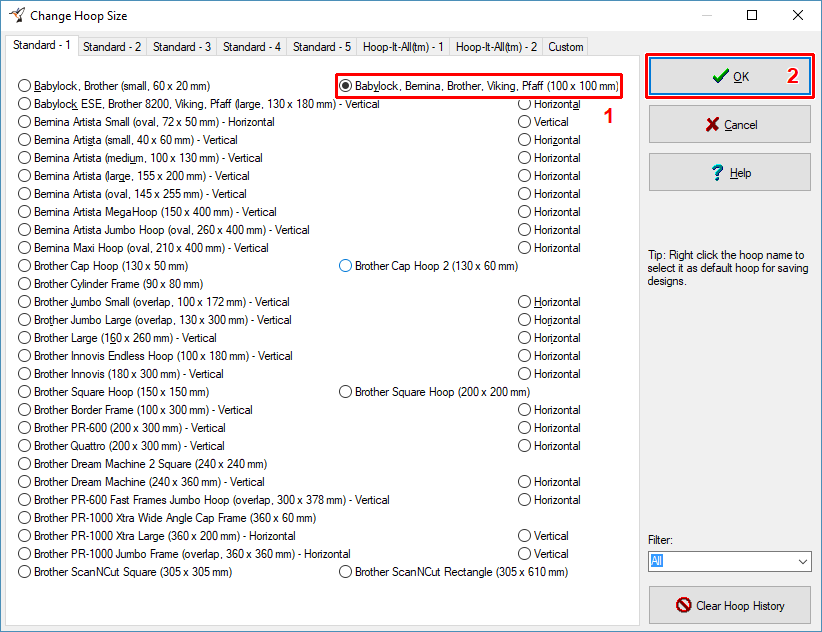
3 - A dialog box will appear on the screen, allowing you to choose the hoop size for saving (Picture No. 3). Select the hoop size you need for your embroidery machine and then select "OK".
3. Choose hoop size
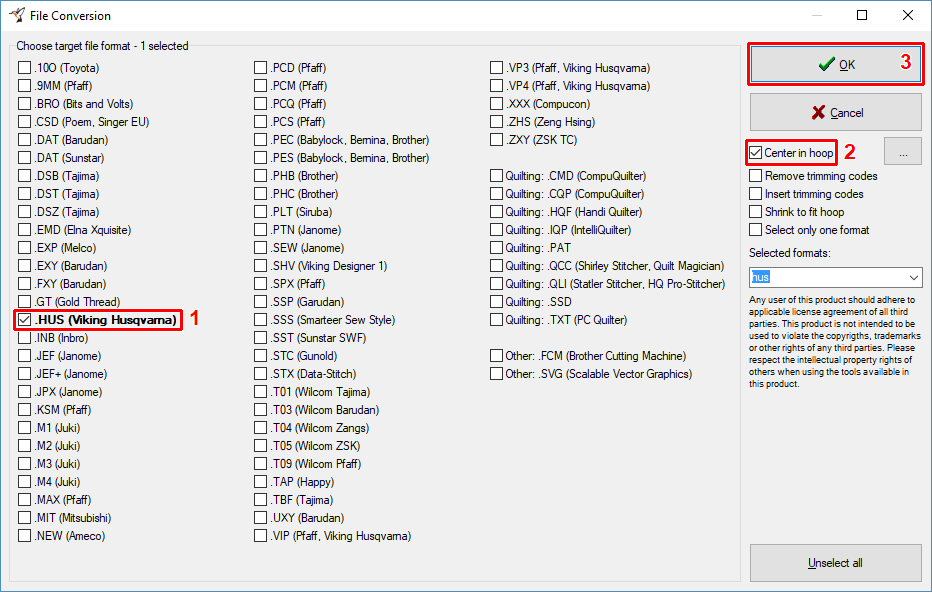
4 - A dialog box will appear on the screen, allowing you to choose the format for saving. Please note that the "Center in Hoop" option is ON (Picture No. 4). This means that every part will be automatically centered in the hoop. Choose the format you need for your embroidery machine and then select "OK".
4. Choose target file format
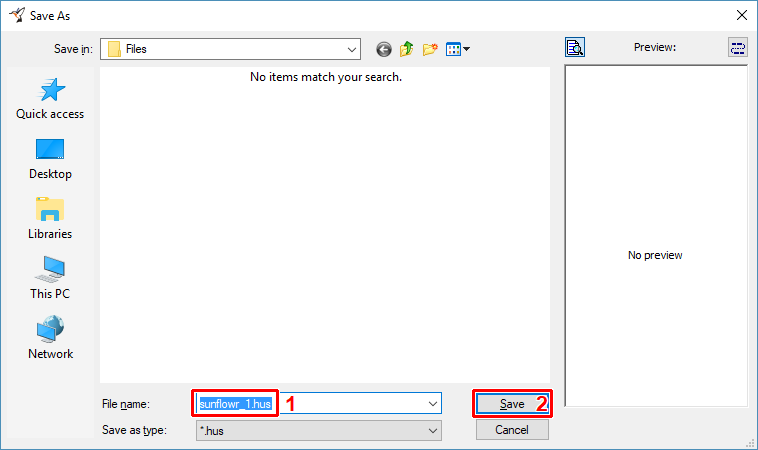
5 - Another dialog box will appear on the screen, allowing you to choose the name of the design file (Picture No. 5). Select "Save" to save this part.
5. Choose drive, folder and file name of design
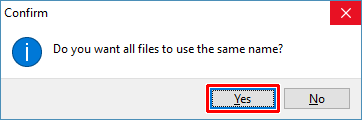
6 - If you agree, the names of all files being saved will be assigned automatically (Picture No. 6). In this example, Embird will use the SUNFLOWR_1 name for part 1, SUNFLOWR_2 for part 2, etc.
6. Agree to use the same file name
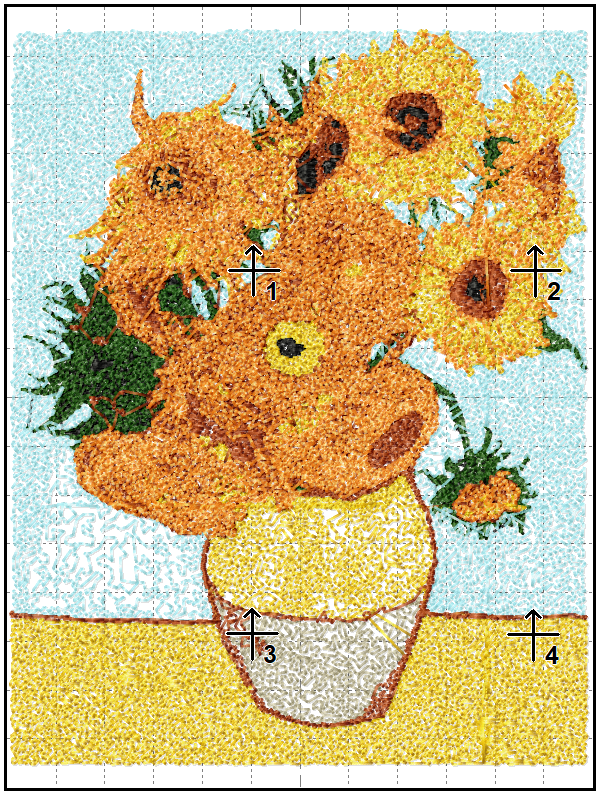
7 - Select the "File > Print Template" menu to print the template (Picture No. 7). There will be 4 crosses in the template, showing you the starting position of the needle for parts 1, 2, 3 and 4. Use this template and the crosses to align the parts when sewing out on your embroidery machine.
7. Template showing needle starting position
Back to Embird Tutorial Contents
Developed by BALARAD, s.r.o. company since 1997