
Navigate
Products
Download
eShop
Upgrade
Overview
Training
Support

Navigate
Products
Download
eShop
Upgrade
About
Training
Support
This tutorial explains how to use the "Save and Send" feature in Embird to email embroidery design files to yourself, a useful method for backup, file transfer, and personal note-keeping. It guides users through opening a design, configuring Gmail SMTP settings with two-step verification and an app-specific password, and sending the file directly via email. The process assumes the user has a Google account with 2-step verification enabled and focuses on setting up secure email sending within Embird.
1 - Run Embird and click the "Editor" menu to switch to the Editor window.
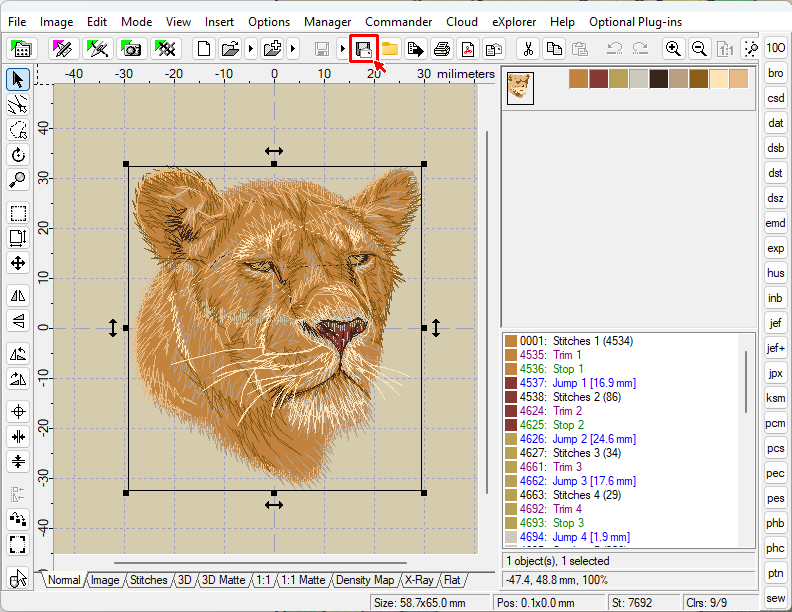
2 - Open a design using the "File > Open" menu; for example, open the free design "lioness.dst".
3 - Click the button "Save and Send" (Picture No. 1).
1. Click button "Save and Send"
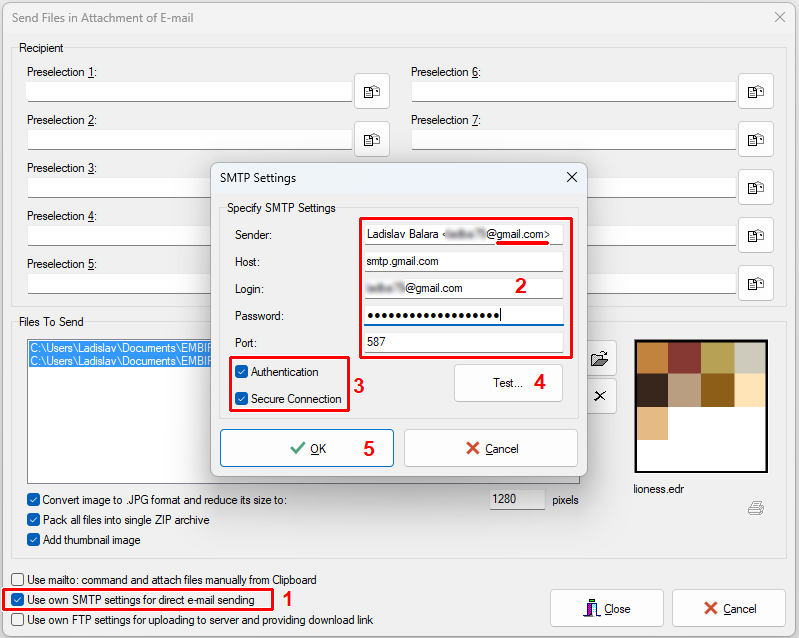
4 - When used for the first time, a dialog box appears on the screen (Picture No. 2). Select the option "Use own SMTP settings for direct e-mail sending".
5 - Fill in the SMTP settings for your Google Gmail account in the dialog box that appears on the screen. This feature was tested with a Google Gmail account; therefore, the Host is smtp.gmail.com, the Port is 587, Authentication is ON, and Secure Connection is ON. The special App Password must be created and entered here as explained below.
2. Specify SMTP settings for your account
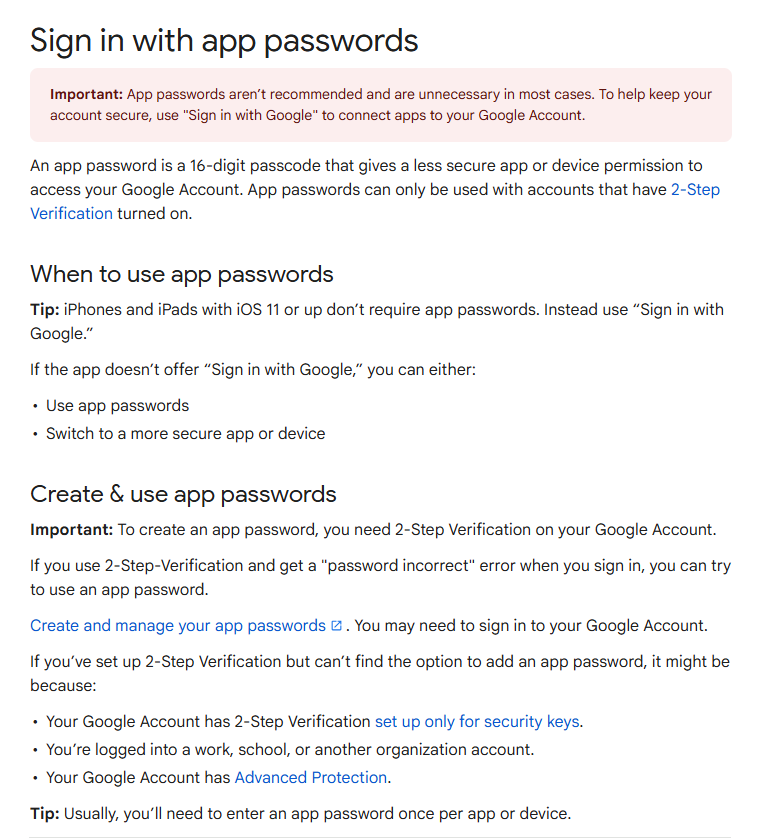
6 - Read the tutorial on the Google page Sign in with app passwords to find out how to create the App Password required above.
3. Sign in with app passwords
7 - Once all settings are specified, click the "Save and Send" button again to run the command. Check your e-mail inbox after a short while (Picture No. 4).
4. Design archived in e-mail account

Tip: Right-click the button "Save and Send" to avoid sending to yourself and to have the possibility to send to a chosen e-mail address instead.
Back to Embird Tutorial Contents
Developed by BALARAD, s.r.o. company since 1997