
Navigate
Products
Download
eShop
Upgrade
Overview
Training
Support

Navigate
Products
Download
eShop
Upgrade
About
Training
Support
This tutorial demonstrates how to insert fabric flattening stitches in Embird Editor to prevent thin lettering from sinking into soft fabrics. These subtle, stabilizing stitches use a thread color similar to the fabric and are added prior to the main embroidery. The process involves opening a design, accessing the menu item, selecting a stitch shape, and configuring parameters like inflation and cavity settings. Finally, a fill pattern is chosen, and the flattening stitches are inserted into the design workspace.
1 - Run Embird and click the "Editor" menu to switch to the Editor window.
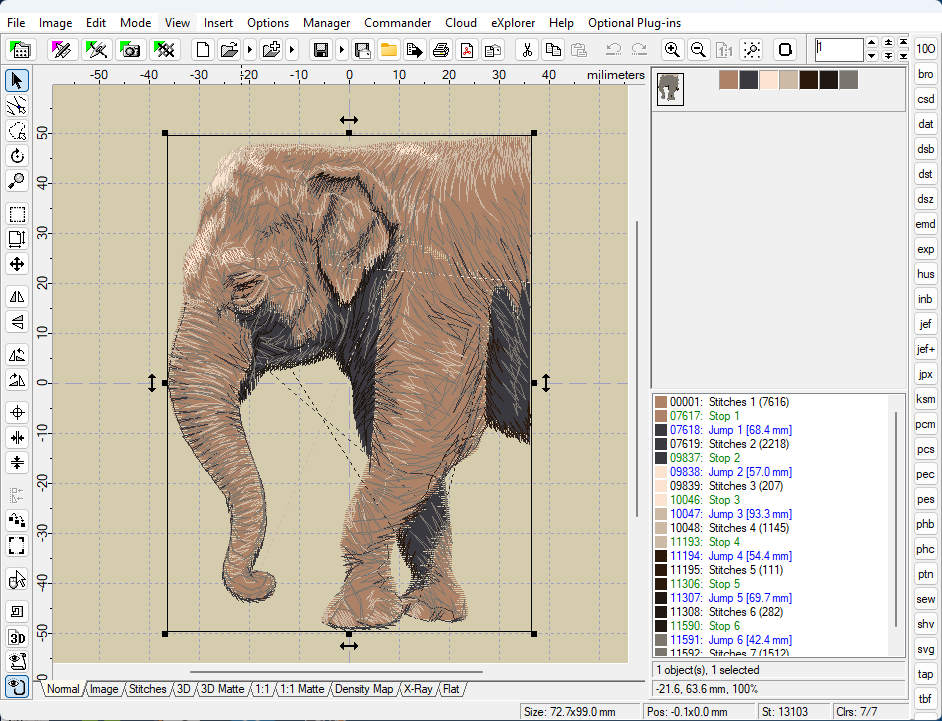
2 - Open a design using the "File > Open" menu, for example, open the free design "elephant.dst" (Picture no. 1).
1. Open design using "File > Open" menu
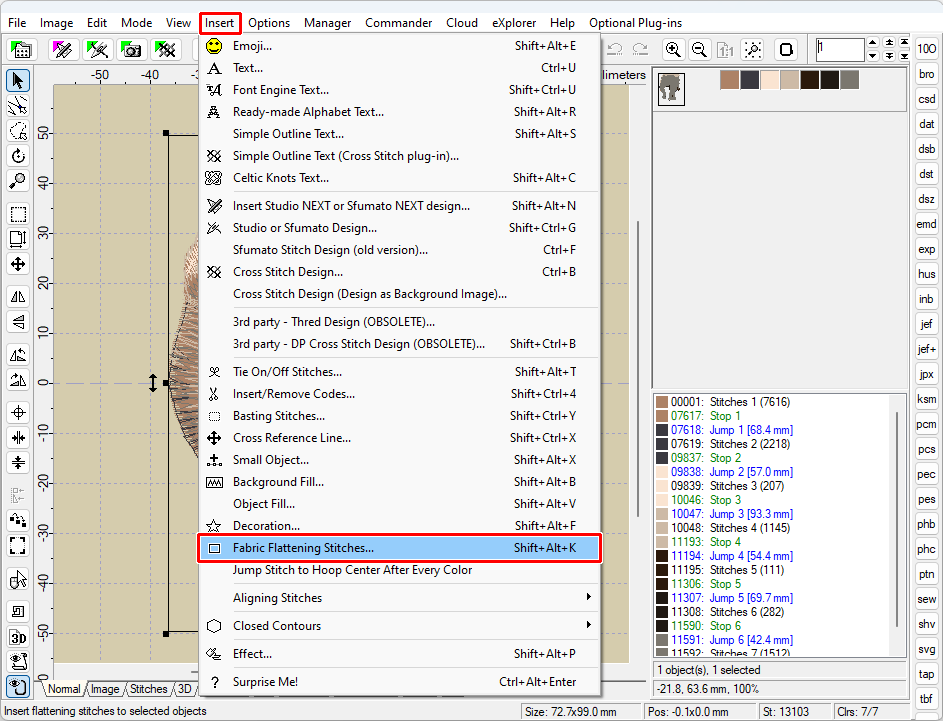
3 - Select the "Insert > Fabric Flattening Stitches" menu (Picture No. 2).
2. Select "Insert > Fabric Flattening Stitches" menu
4 - Choose the shape of the fabric flattening stitches (Picture No. 3).
3. Choose the shape of fabric flattening stitches

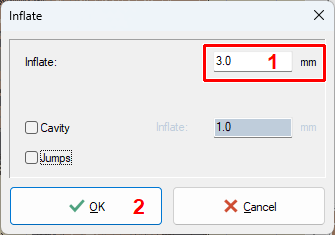
5 - Specify parameters of the flattening stitches such as inflate, optional cavity, and how the jump stitches are treated (Picture No. 4).
4. Specify parameters of flattening stitches
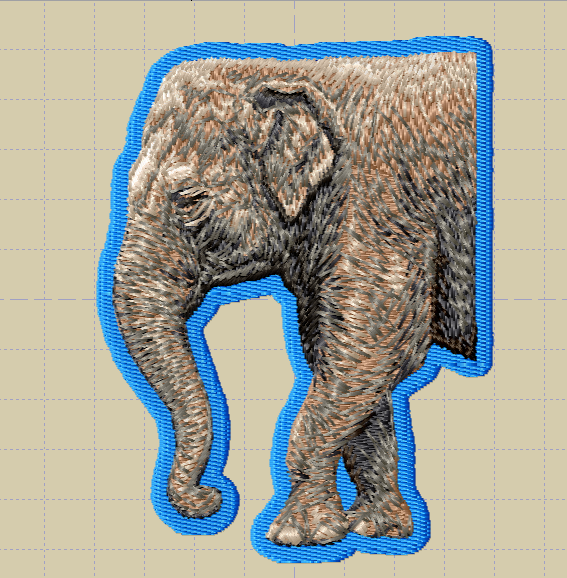
6 - In the next dialog, choose the "Fill > Plain Fill > Fill 1" pattern type. After a short while, flattening stitches are inserted into the Editor (Picture No. 5).
5. Flattening stitches are inserted into Editor
Back to Embird Tutorial Contents
Developed by BALARAD, s.r.o. company since 1997