
Navigate
Products
Download
eShop
Upgrade
Overview
Training
Support

Navigate
Products
Download
eShop
Upgrade
About
Training
Support
This tutorial explains how to convert an image, preferably of a striped animal like a tiger or zebra, into a fingerprint-style embroidery design using Embird. It walks users through opening an image, applying the "Fingerprint Pattern" effect from the color menu, adjusting the pattern settings, and converting the image into stitches. Additionally, it demonstrates how to generate outline contours of the design for an embroidery outline effect, showcasing Embird's capabilities in stylizing images for embroidery projects.
1 - Run Embird and click the "Editor" menu to switch to the Editor window.
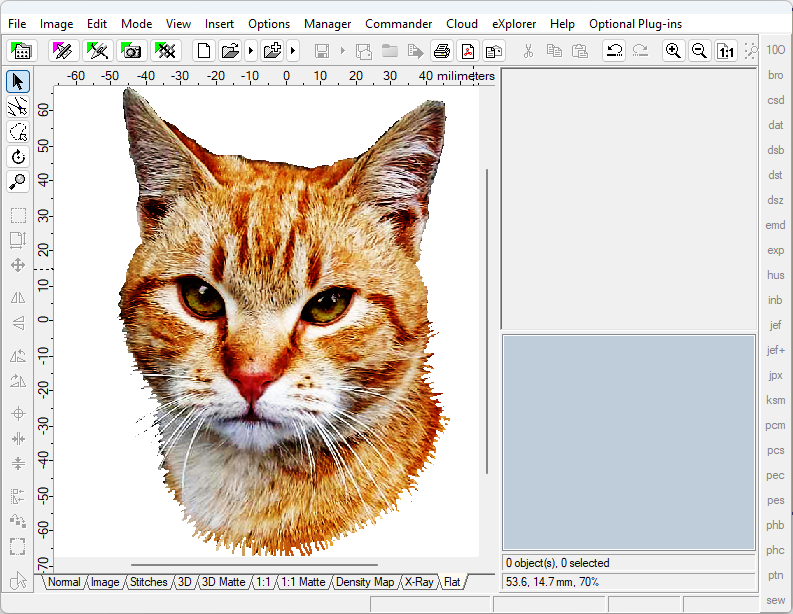
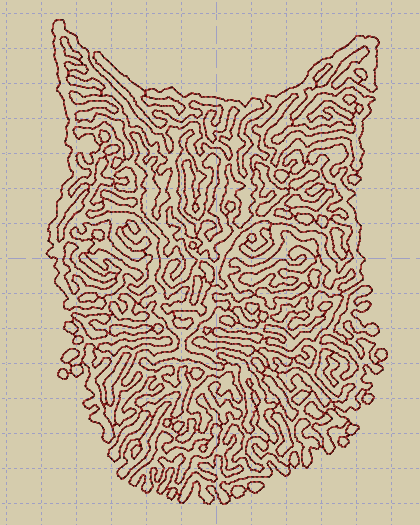
2 - Open an image using the "Image > Open" menu (Picture No. 1). Images of animals with stripes are recommended, such as a tiger, cat, zebra, etc.
1. Open image of animal with stripes
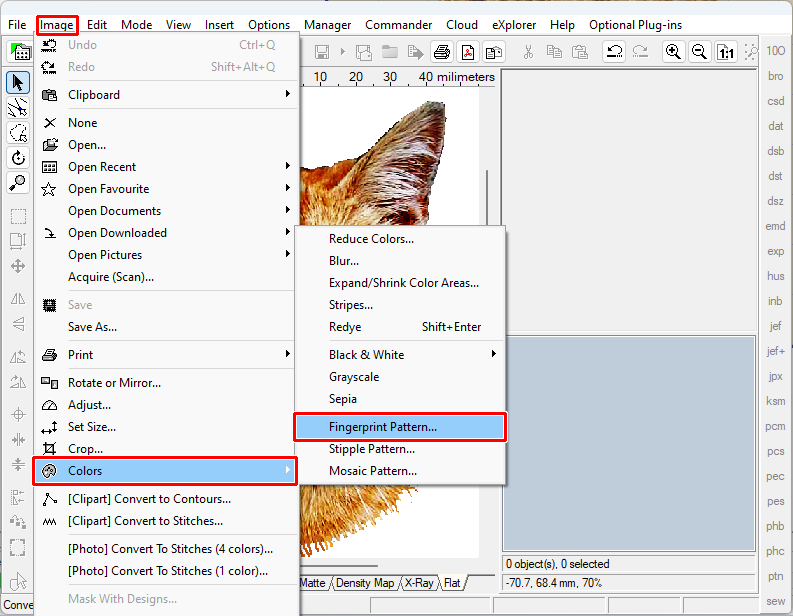
3 - Select the menu "Image > Colors > Fingerprint Pattern" (Picture No. 2).
2. Select menu "Image > Colors > Fingerprint Pattern"
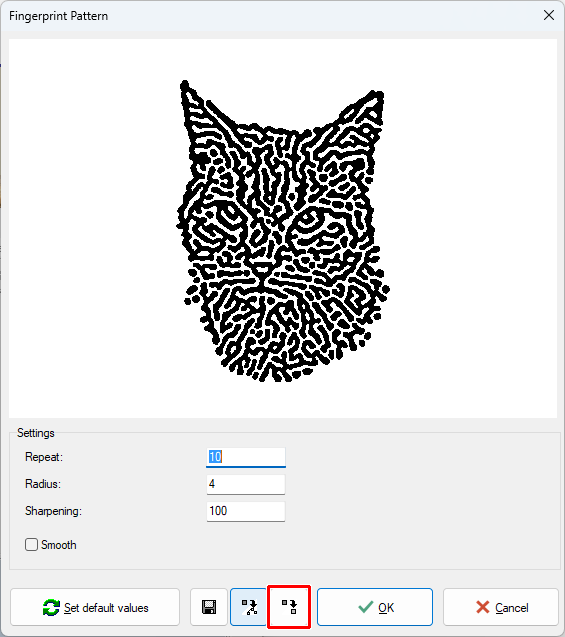
4 - Modify settings to obtain various spots (Picture No. 3).
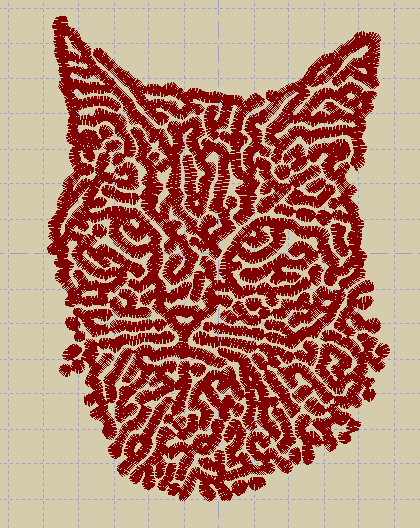
5 - Click the "Convert to Stitches" button.
3. Modify settings to obtain various spots
6 - After a short while, a new design will be inserted into the Editor.
4. Image converted to embroidery design
7 - Click the other "Convert to Contours" button to obtain outline contours of the spots.
5. Image converted to embroidery outline design
Back to Embird Tutorial Contents
Developed by BALARAD, s.r.o. company since 1997